
For those of you who know me, you know my hair has been a real struggle for the last 6 years or so. For some unknown reason, my already thin hair has gotten even thinner. We all have our different styles, but if I had it my way, I’d have Jessie James Decker hair everyday! Well thankfully I can have it my way thanks to extensions. I like to keep it real so let the record state, I have extensions. For the first time I’ve tried the bead bonds which don’t use heat or glue! So they’re much easier on hair.
OK back to my main point….I get asked sometimes how I get my waves so I decided to share my process. The main helper is my stylist and what she does with extensions. I can’t say enough about how easy they are and trust me, they mask my thin hair that won’t cooperate.
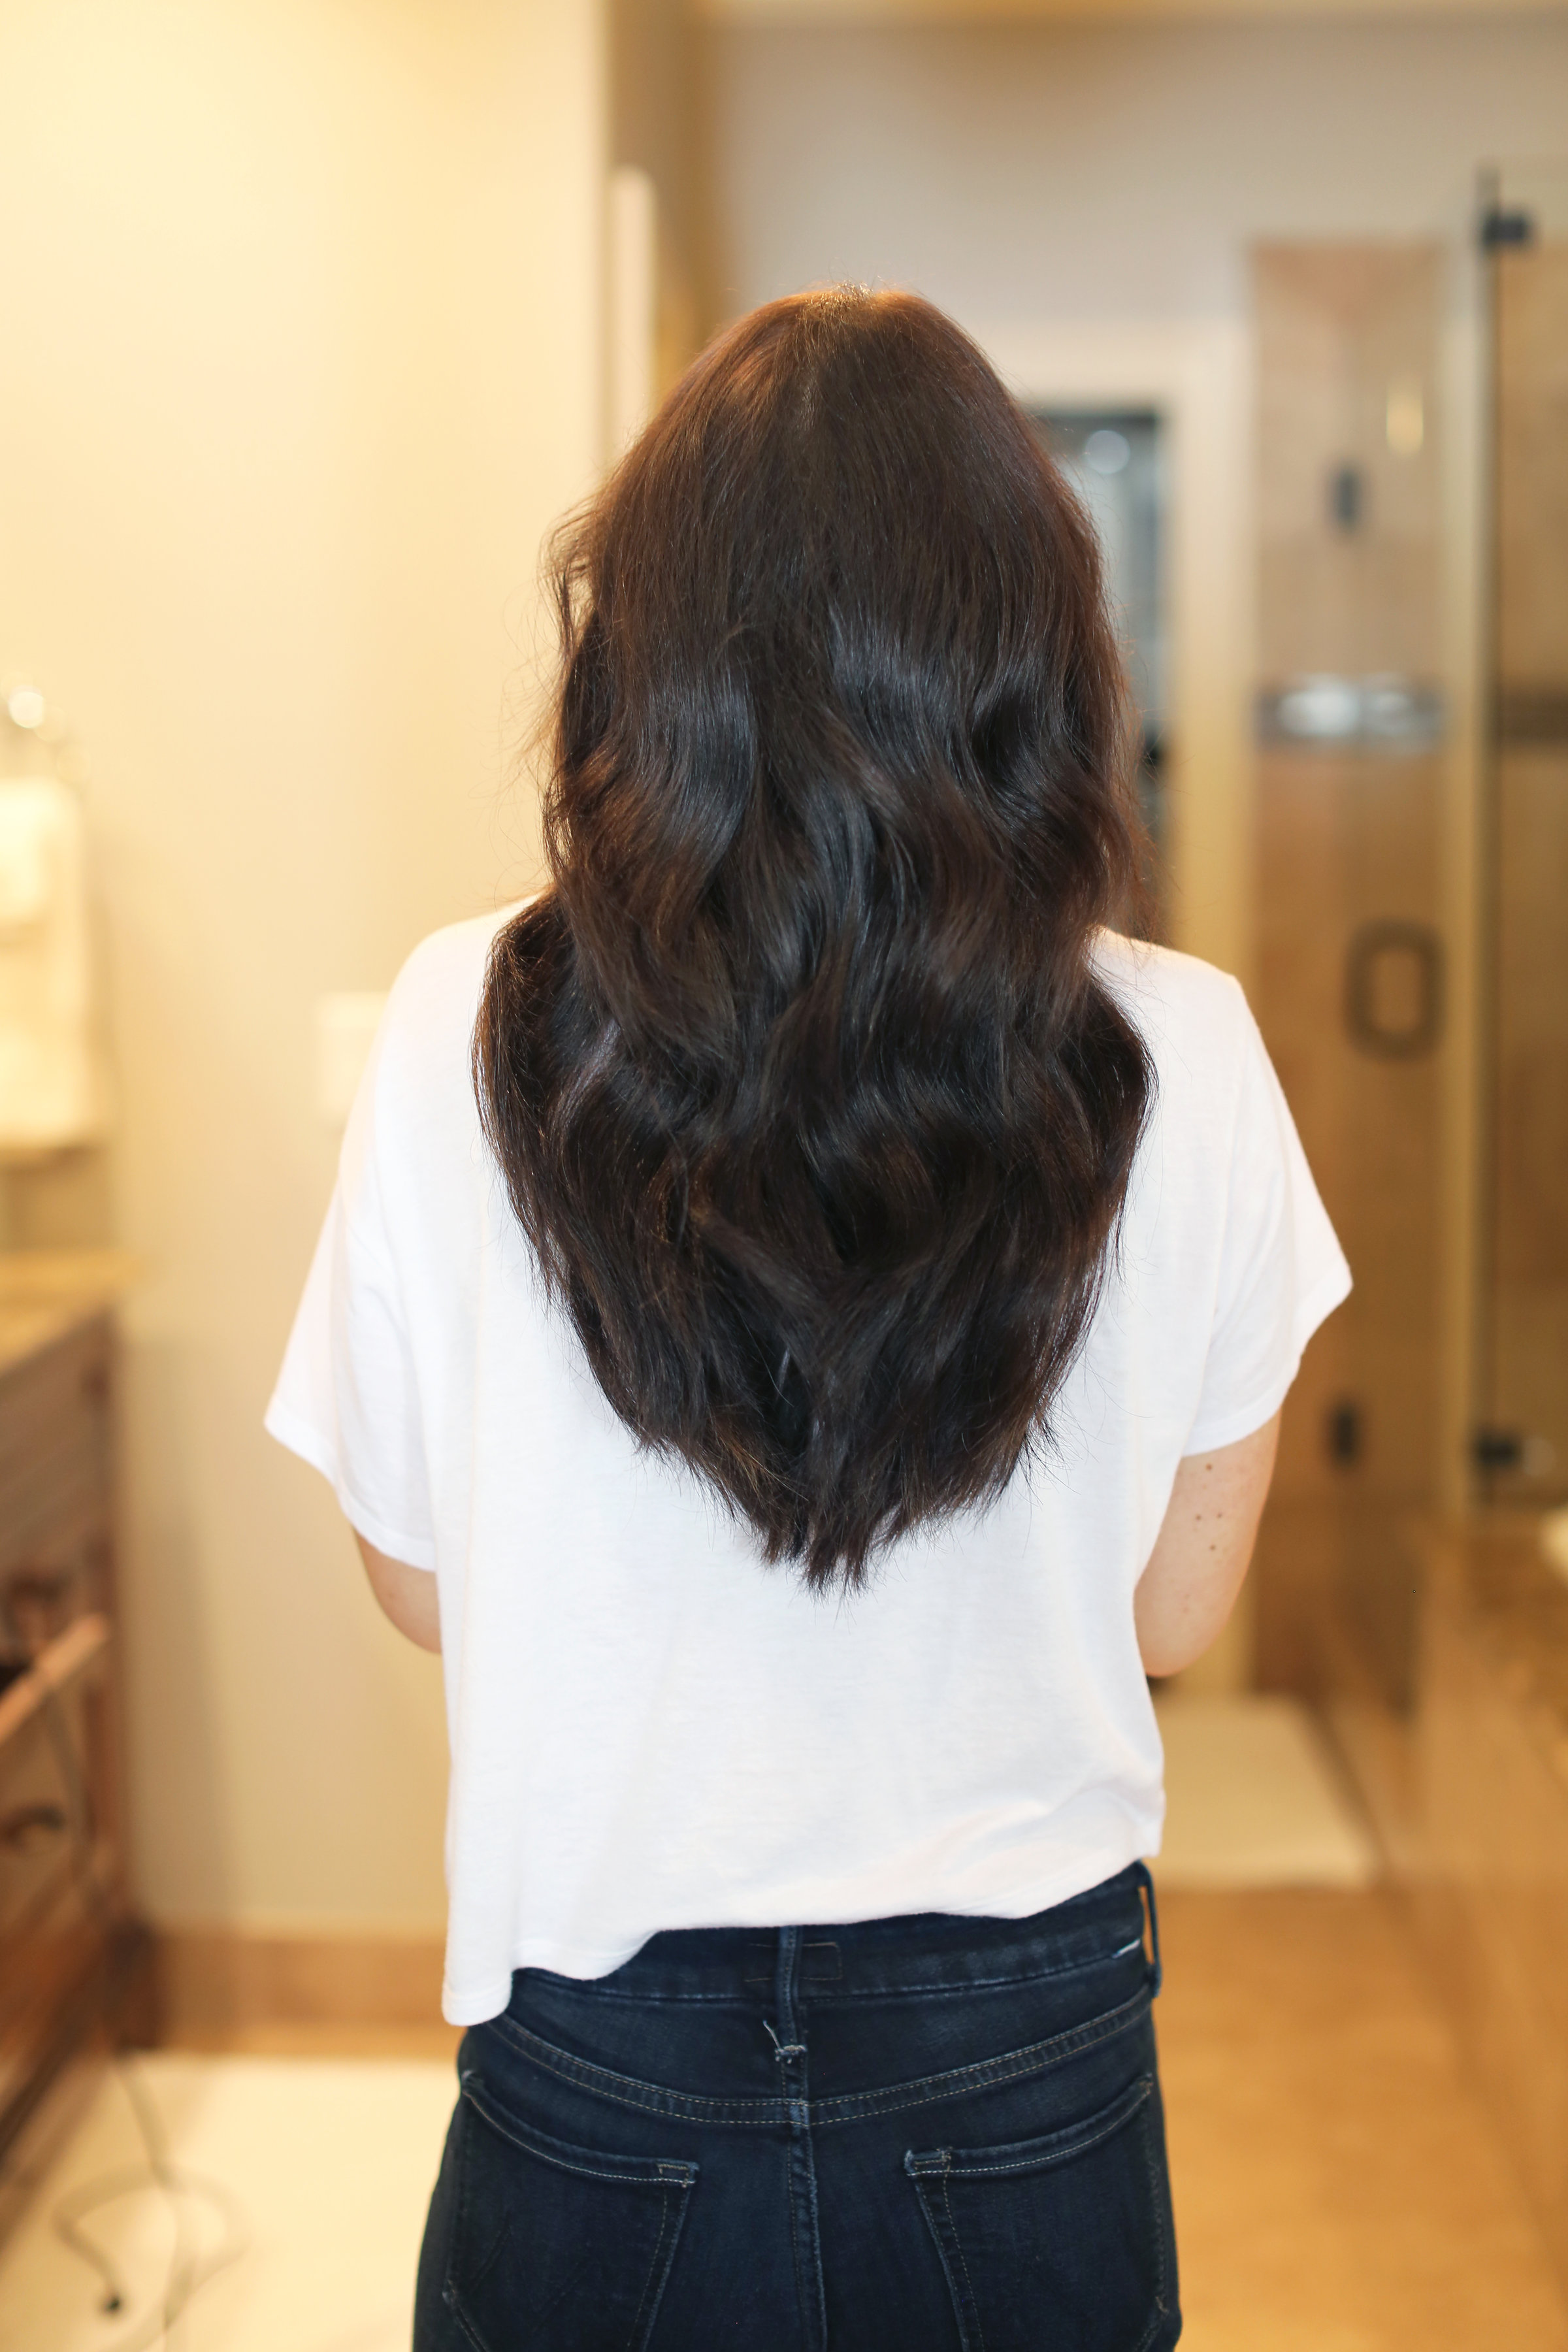
Beach Waves
I wish my hair stylist could do my hair every day but since she can’t, here’s my process:
Step 1: I section my hair by drawing a line about and inch and a half above the bottom of my head and twist the top portion up with a clip. Then I being to curl about 1/2-1 inch sections. Having different thicknesses adds to the texture. I wrap the hair around my entire curling iron. You can use any size but I us a 1 inch curling iron.
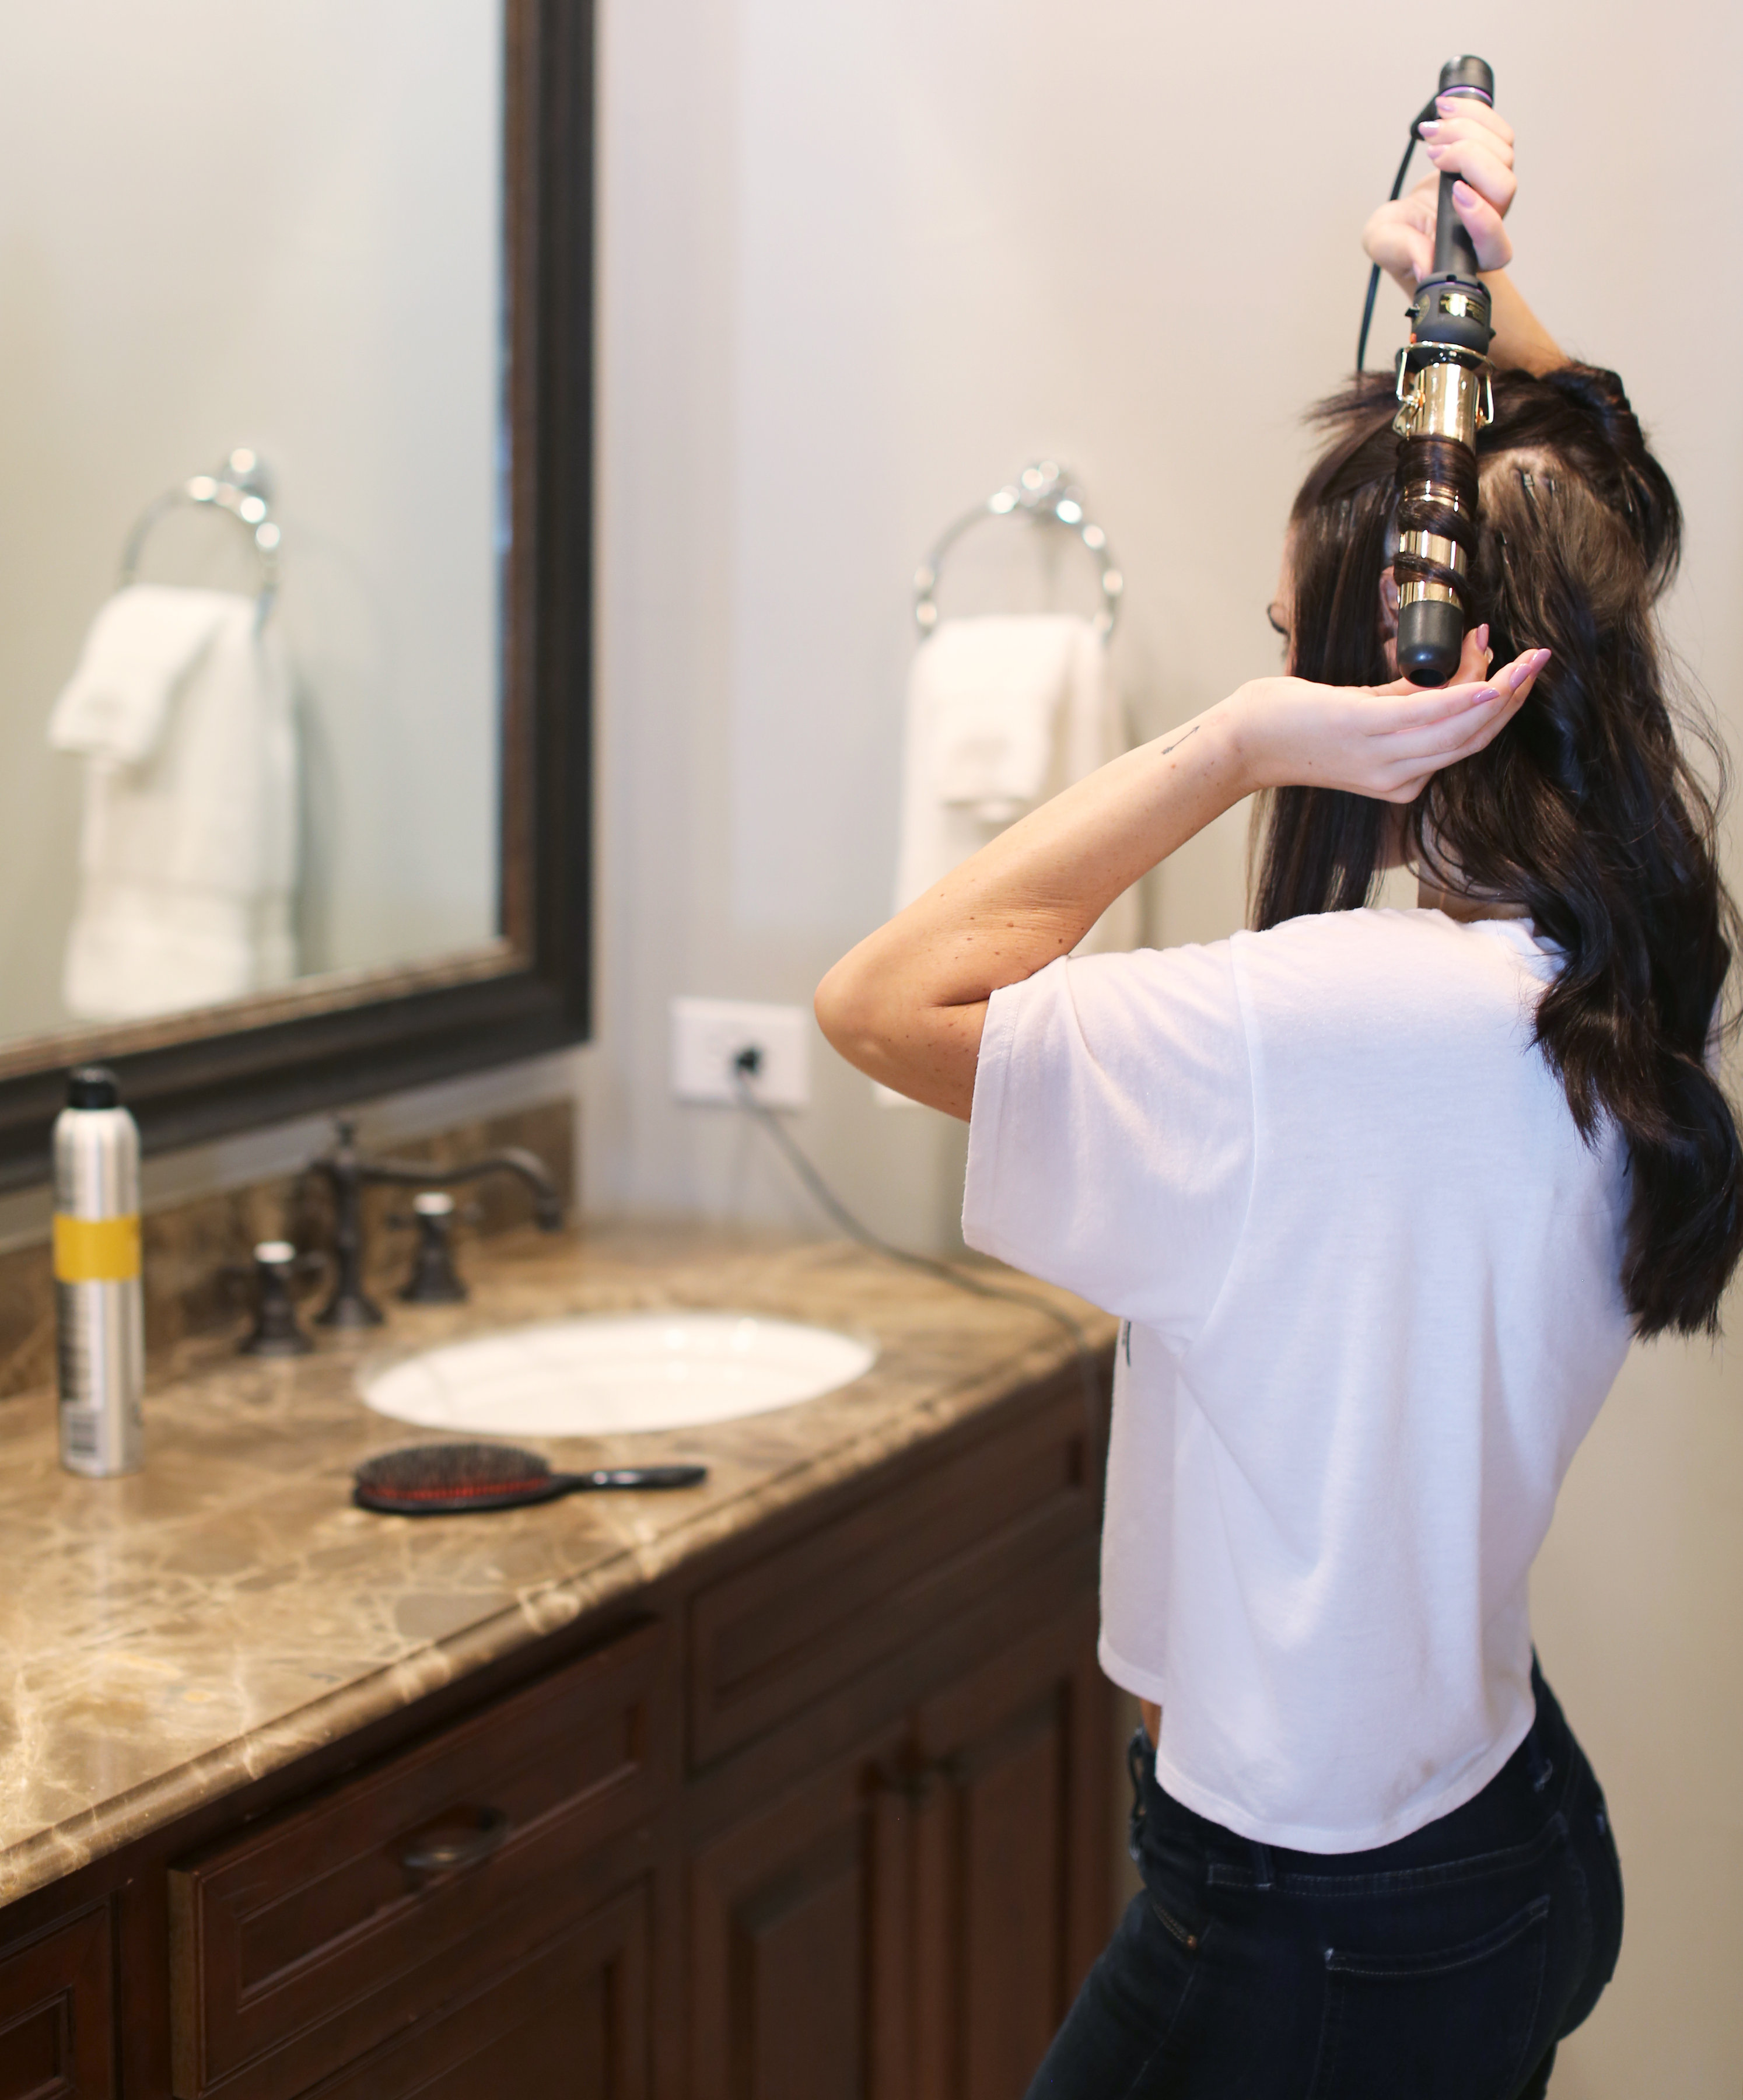
Section hair and curl
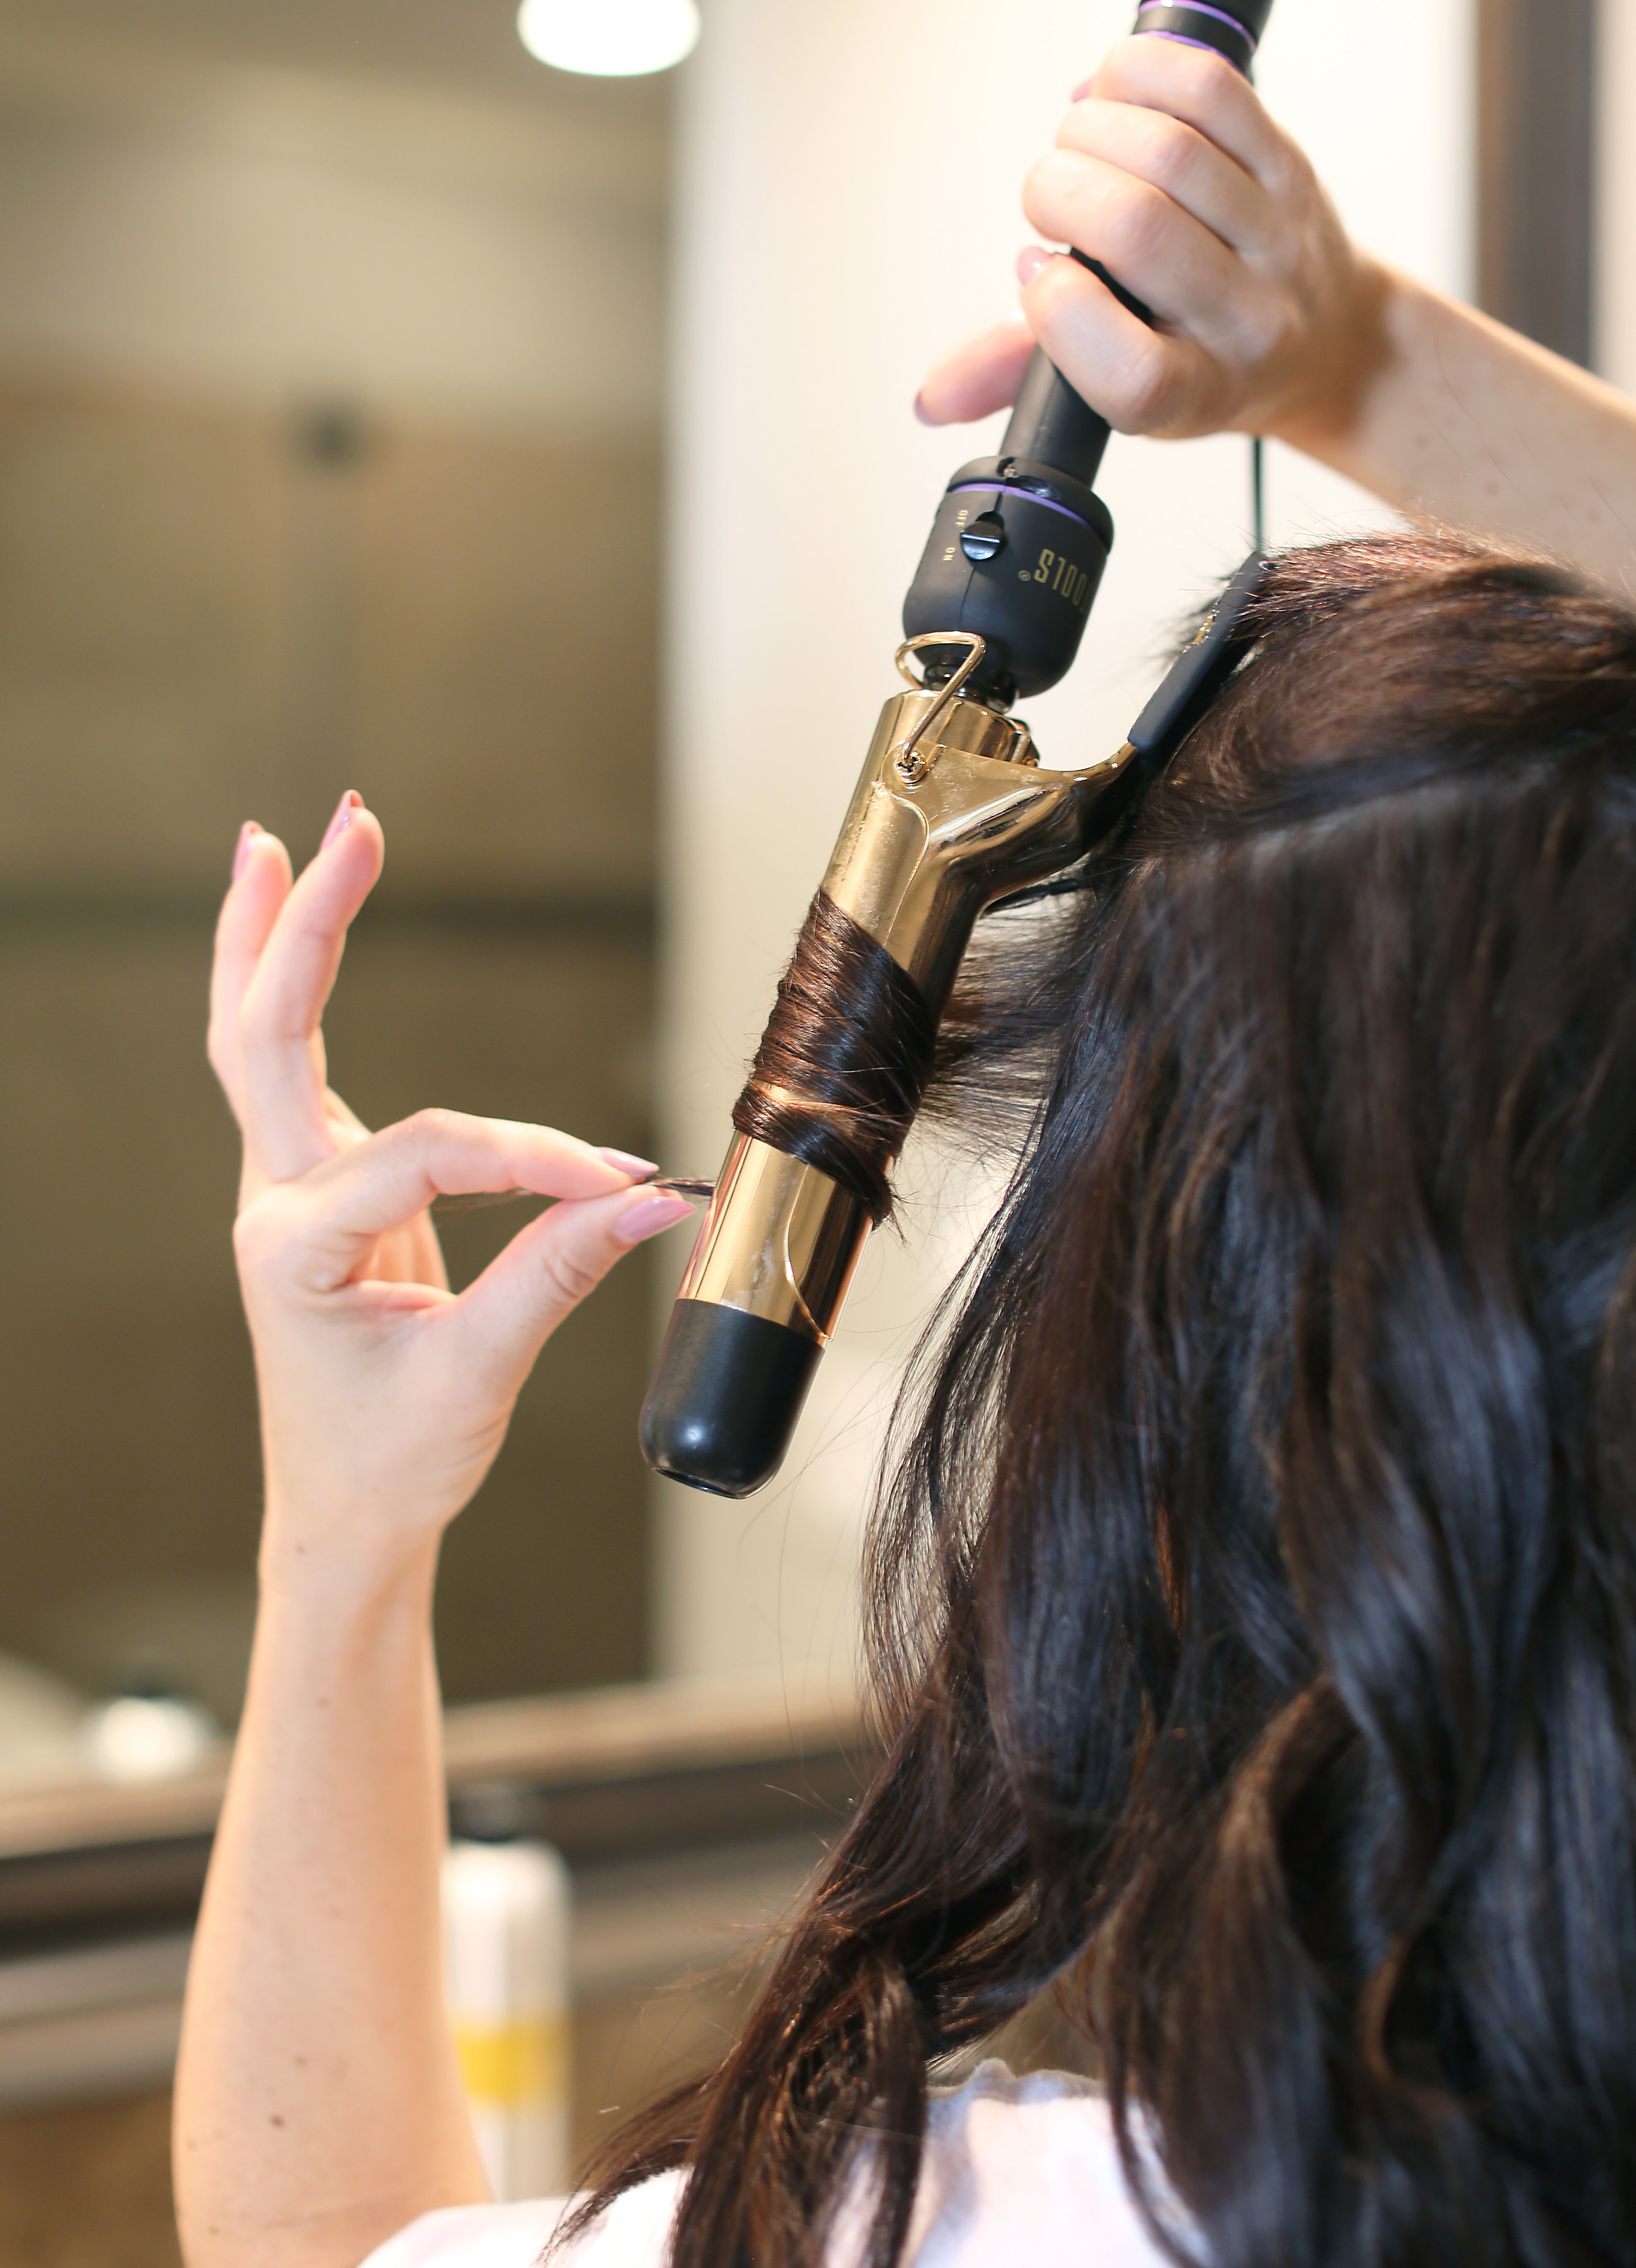
Different section sizes are ok
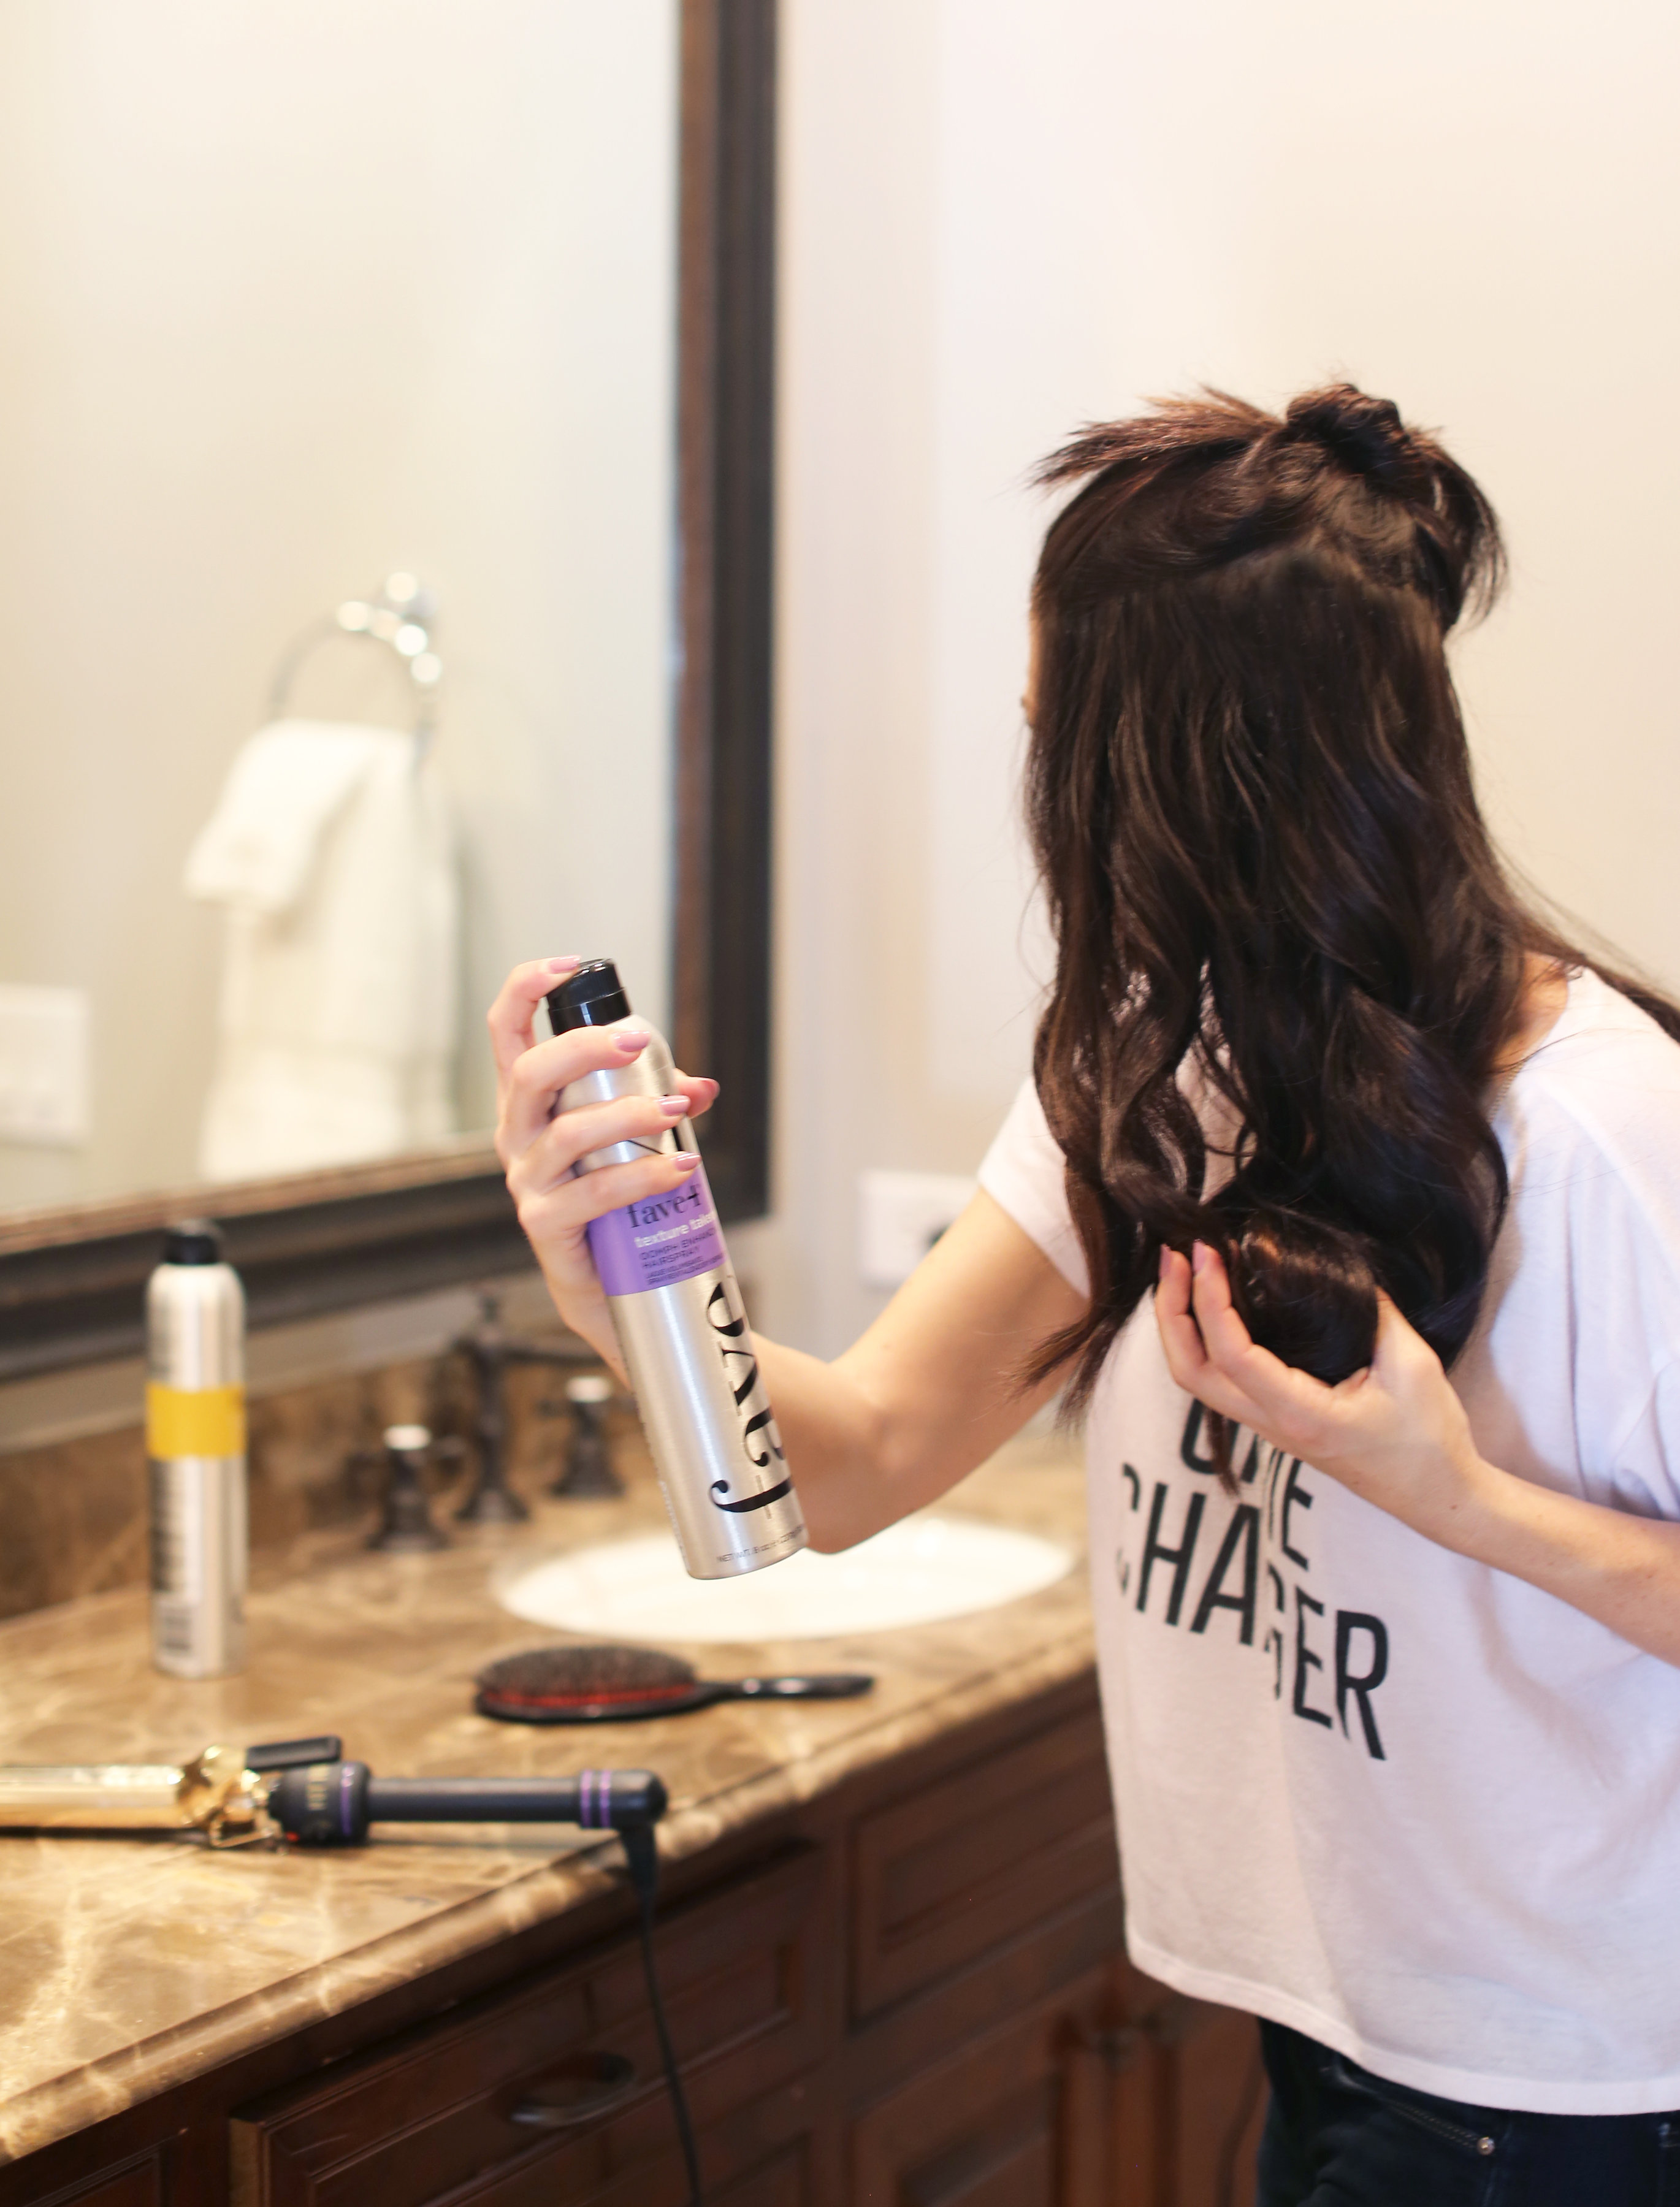
Step 2: I then spray Fave4 Texture Takeover over the hair I’ve just curled. What I love most (aside from the smell) is that you can use as much or as little as you want. You can’t really mess it up!
Step 3: Continue to curl hair section by section until you’ve done your entire head. I finish with my top section (aka real hairs) and lightly curl them to avoid damage. Then I flip my head over and spray the whole thing with Texture Takeover again. After a minute or so, I brush out my hair with my favorite brush. (It’s expensive but will last forever, I’ve had mine for 10 years!)
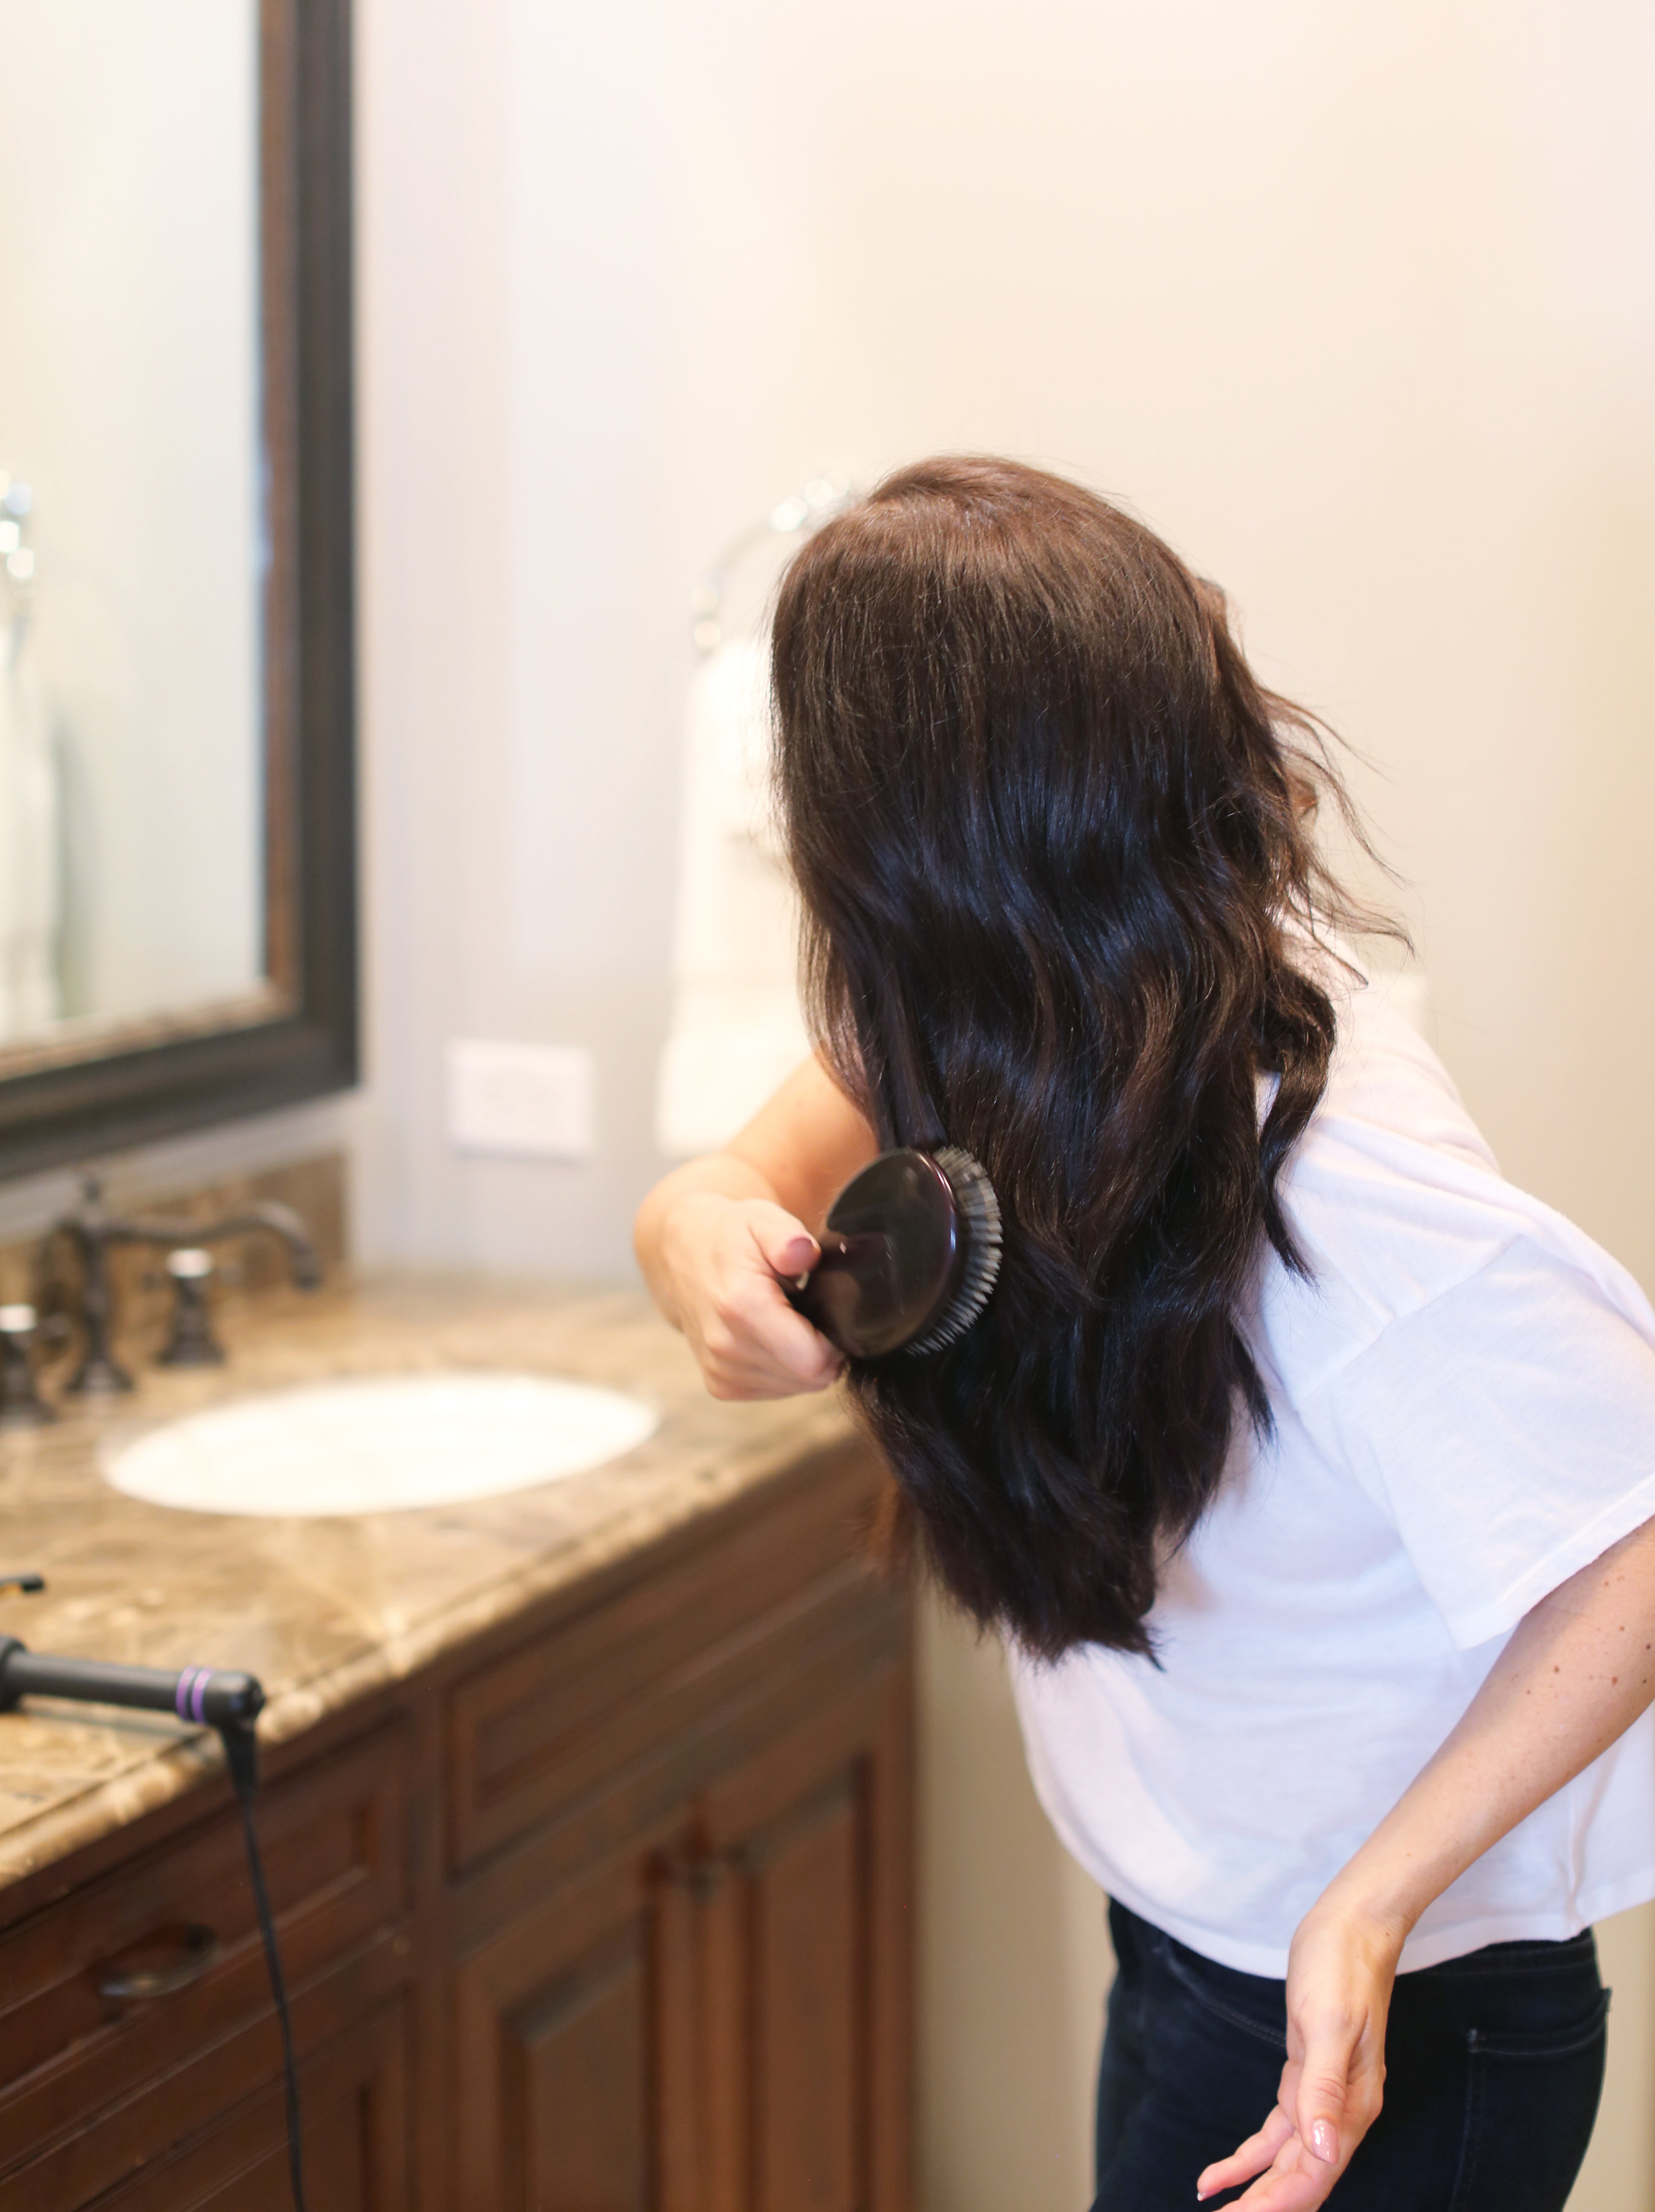
Brush it out
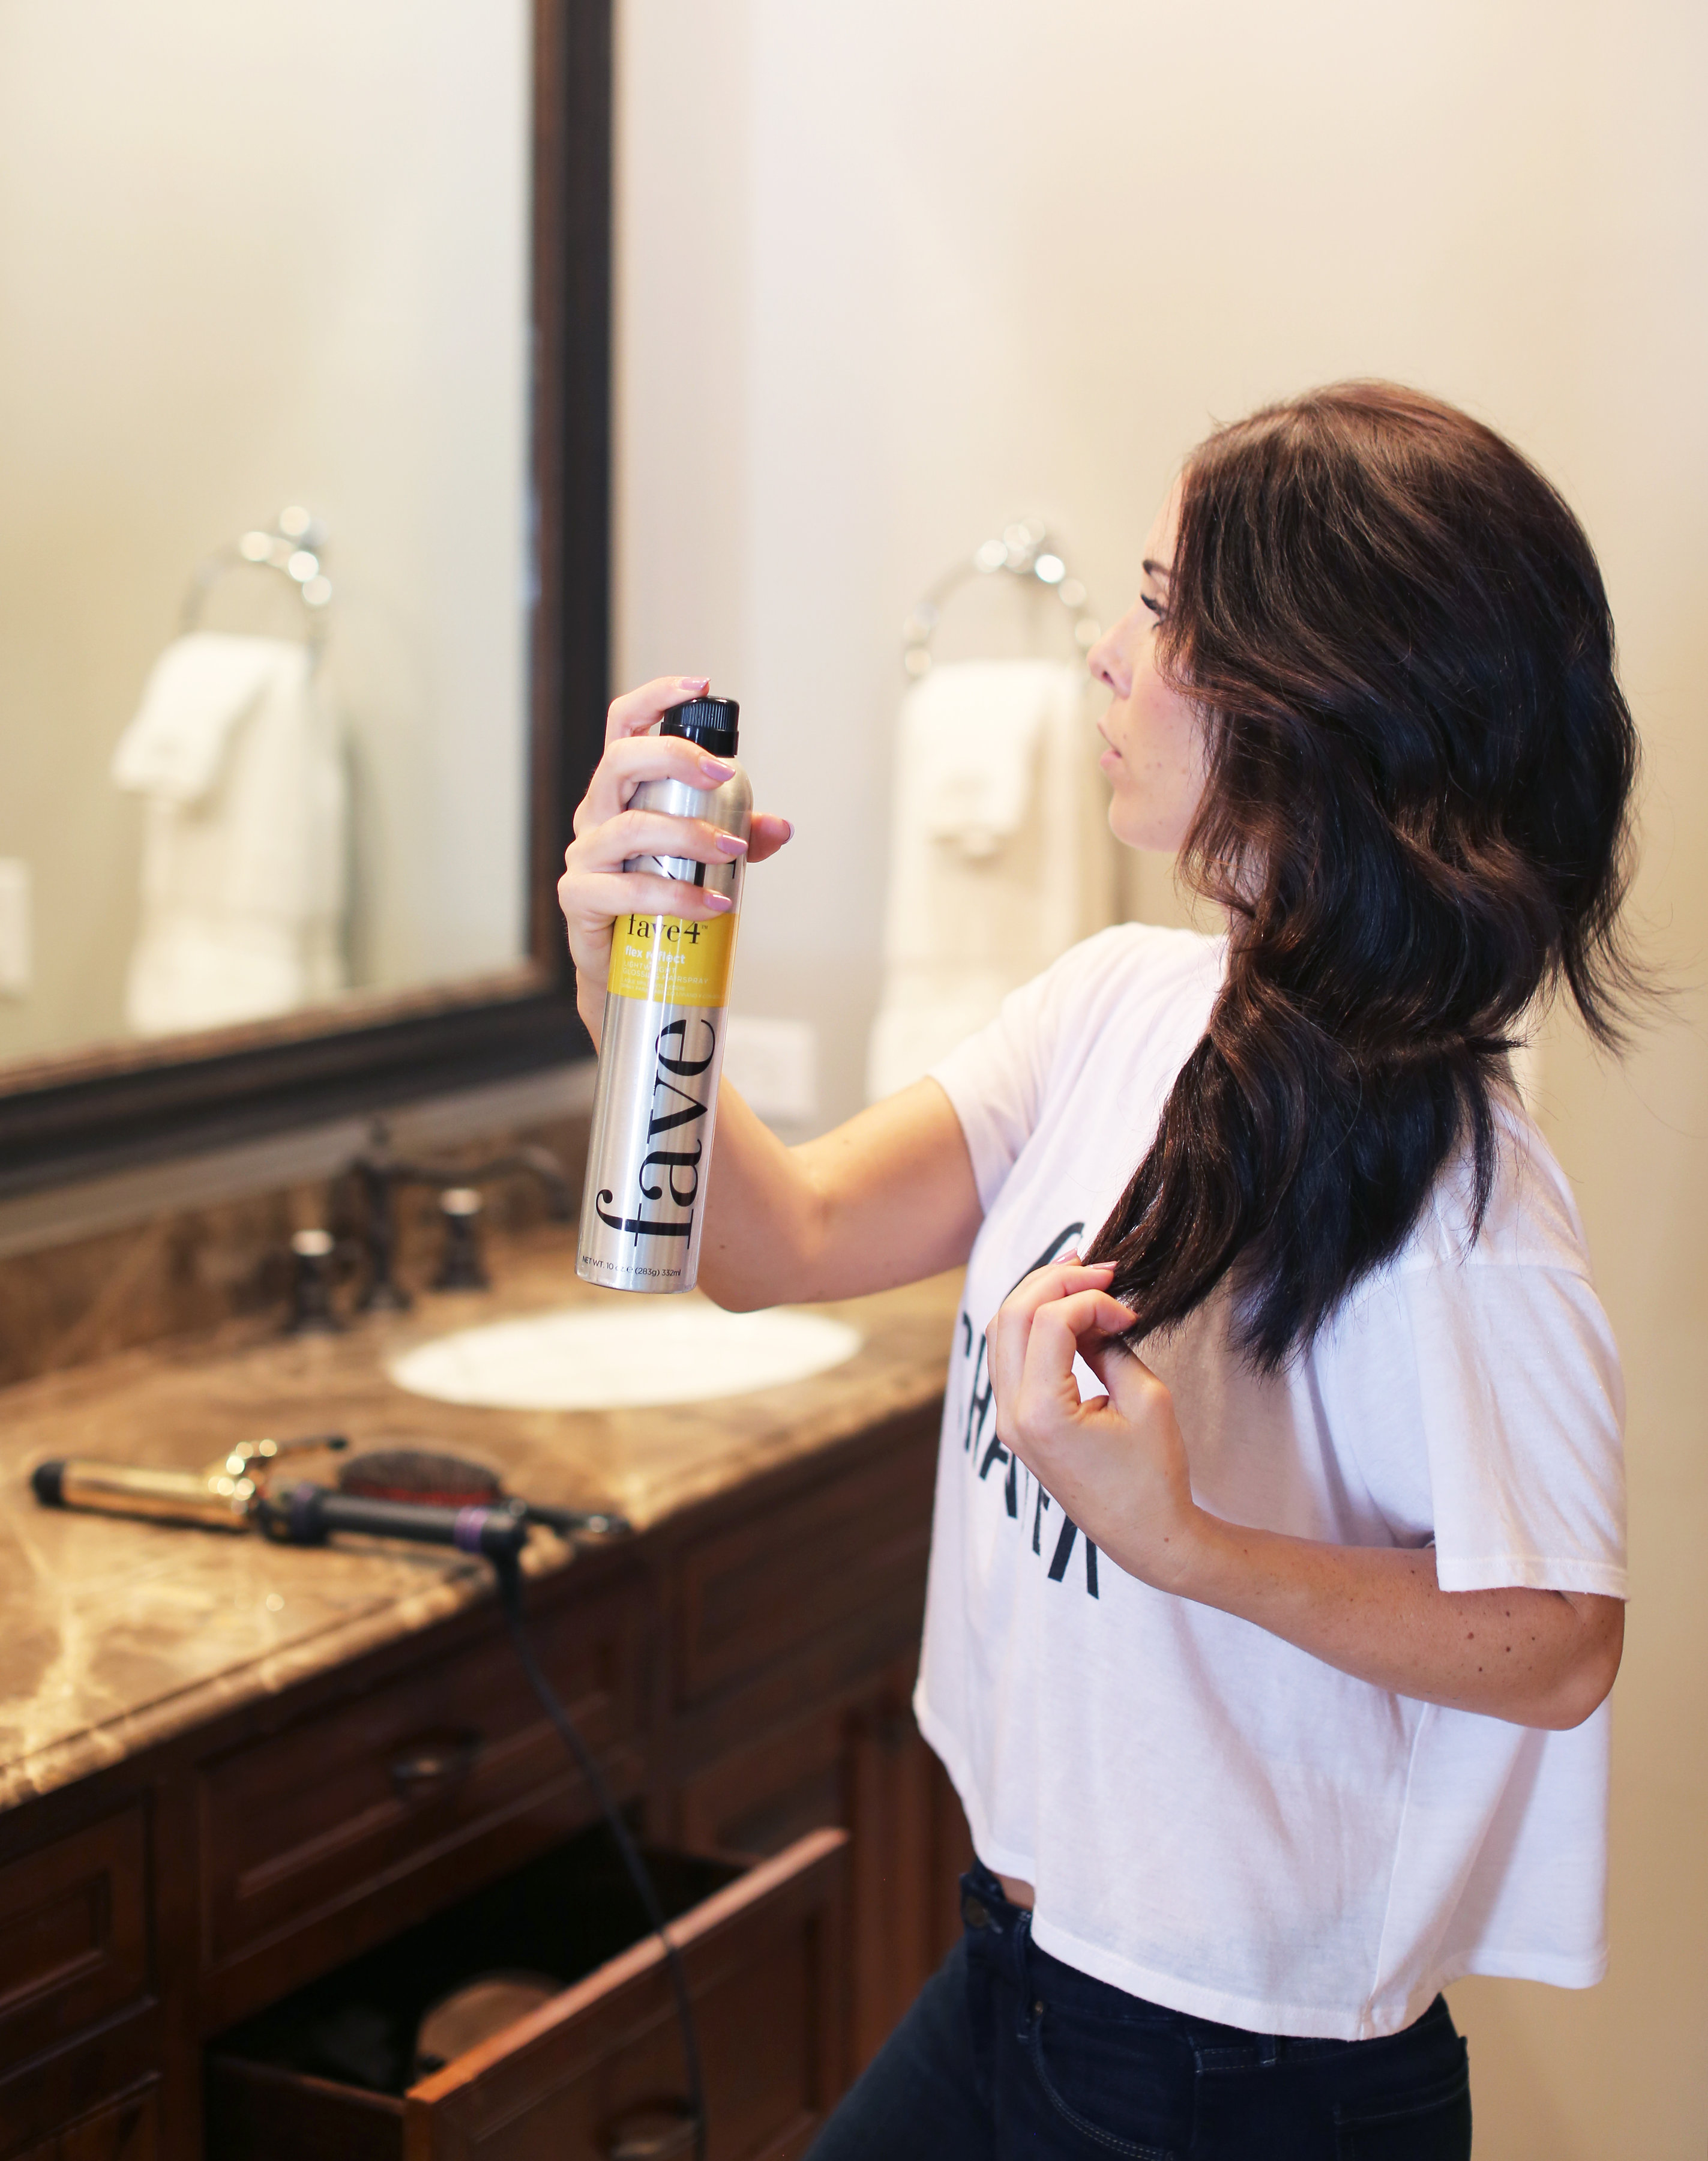
Step 4: I finish by spraying Fave4 Flex Reflect to seal the deal.
And that’s it! You’re good to go. The whole thing takes me about 15-20 mins and the best part is you can spruce it up the next day (or 3) without washing your hair by just re-curling some pieces and using the Fave4 products. The morning after, I will just use Texture Takeover and tease the crown of my head for volume and I’m good to go!

This is not a sponsored post, I really really love Fave4. I order the travel size of Texture Takeover for my purse and their Up for Air is the best product for when I want to let my hair air dry. I’m such a creature of habit but they have a ton of other products you can try as well! (PS this little bag is also from them, how perfect is it for travel?!)
TRUST ME, I am not a beauty blogger so if I can do it you can do it. It’s all about practice so just get in there, take it slow and before you know it you’ll be a seasoned pro!
* My “Game Changer” cropped tee is under $30! I wear it all the time!